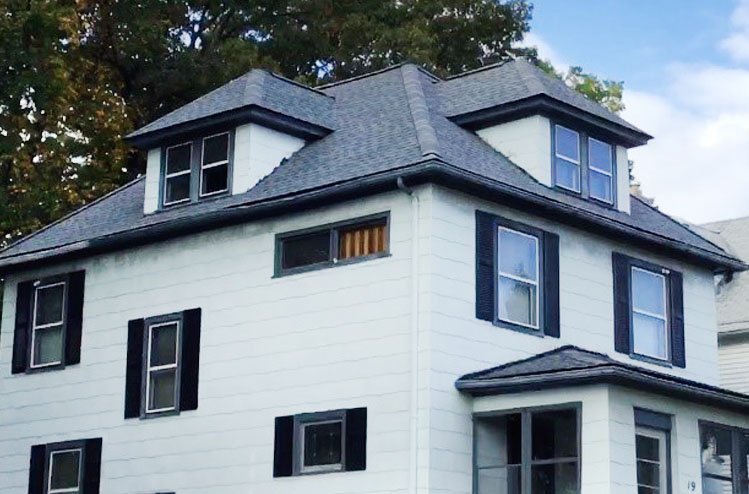

Exterior paint on your home not only increases its curb appeal, it also protects your home from weather damage. But homes in the northeast typically need to be painted an average of every 5 years. This can be a costly proposition.
With the right installation and product, siding can last a lifetime. Allstate Roofing & More, LLC works with the best products in the industry that come with a lifetime warranty. The best part? The warranty not only covers manufacturer’s defects, but it also includes color fade! And your siding requires little maintenance.
What do you need to know about the siding that we install?
- Siding is not a one size fits all look. You can pick your style and can even mix up styles. For example, you could add a decorative scallop accent in the front of your house. We even install wood/cedar style siding.
- You have many color options to choose from. Siding today also comes with what is essentially sunscreen built in, which protects it from UV fade, allowing a greater variety of colors than ever before.
- The installation of siding can actually better insulate your home and reduce exterior noise by 15-35%!
- We can install siding on historical homes, and work with you to maintain the character of the home.
- We install using a three ply backerboard system which includes a mylar back, breathable foam insulation, and a waxy coating. This system works to:
- Pull out moisture and deposit it at the siding, which then allows it to drain away from the house.
- Prevent mold and water damage.
- Act as a bit of an insect repellant–generally repelling carpenter ants and termites.

What is the typical process for siding a home?
Step 1: Tear Off the Existing Siding*
- Remove the existing siding, trim, fascia, and soffit as needed.
- Inspect the sheathing.
*In rare instances, existing siding can not be removed. Your Account Manager will be able to discuss options if this is the case with your home.
Step 2: Install House Wrap
- Install house wrap to protect sheathing.
- Flash windows, doors, etc.
- Tape the seams of the house wrap to prevent water intrusion.
Step 3: Install Inside and Outside Corners
- This will give the siding a finished look and prevent future water damage.
Step 4: J-Channel and J-Blocks
- These are installed around windows and doors to help keep water from seeping in at these areas, as well as cover the ends of the siding to give your home a clean, finished look.
Step 5: Starter
- Installed around the perimeter of the home to hold the first row of siding in place.
Step 6: Siding Installation
- Level the siding–it is hand nailed and hung on the hem.
- Ensure the siding is installed so that each piece locks tightly on the ones surrounding it.
- Ensure the siding flows evenly around corners and obstacles.
- Apply caulking where necessary (ex: between the J-Channel and trim).
Step 7: Wrapping Trim, Fascia, and Soffit (Optional)
Lorem ipsum dolor sit amet, consectetur adipiscing elit, sed do eiusmod tempor incididunt ut labore et dolore magna aliqua tempor
Morgan King
The Loan Payment Calculator
Get Approved
Submit an application and get a decision within 30 minutes.


